Post by HoneyBadgerHacker on Jan 27, 2021 18:27:36 GMT -5
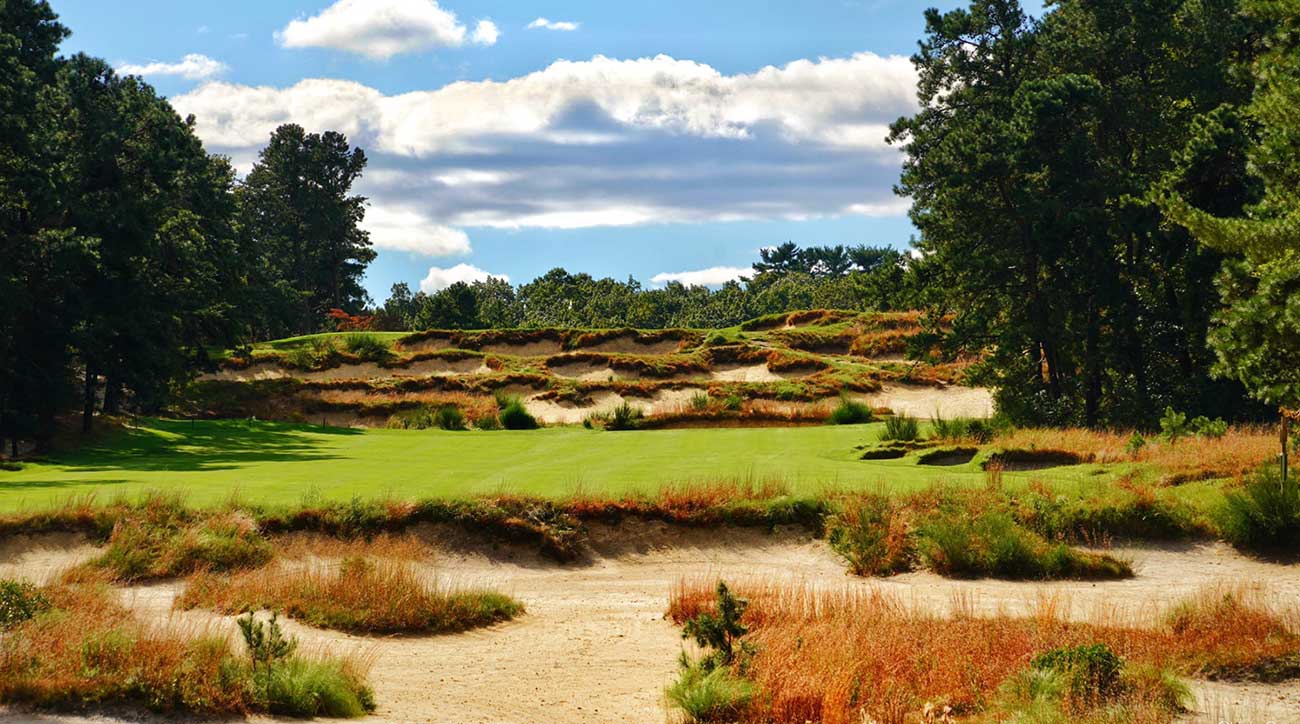
Pinedale Trails
Designed by Eric Perego
Published January 2021
Yardages:
Red: 6,412
Blue: 6,788
Black: 7,112
Par: 72
Greens: Fast (171)
Conditions: Firm
This course was inspired by one of my first publishes “Blackwater Bull Run”. That course received a lot of positive praise and as a designer was happy how it turned out but I wanted to create another course like it but with a more “natural looking” vibe. After countless hours (about two months of work) I am pleased to present you with “Pinedale Trails”. Initially named “Pinedale GC” I decided to rename it since there was another course too similarly named. Hats off to the thread created by MattF “Matt’s Long, Rambling Course Naming Guide”. Also, a really big shout out to hallzballz6908 and abowidow5712 for playing the beta and offering some really good insight and suggestions.
Hole overview and strategy guide:
Hole 1 Par 5
514 yards (Black)
A really good chance for eagle if not birdie on this dog leg reachable Par 5. Should be able to carry the first fairway bunker unless there is a strong headwind. Hitting a deep drive slightly to left will leave you with a left to right fairway slope that will help get home in two on the 1st Pin placement but watch out for the flies on the trap guarding the right front of the green.
Hole 2 Par 4
412 yards (Black)
Your first real decision off the tee. Hit driver to improve your 2nd shot distance and trajectory while risking going into the bunker or water? Or lay up for a mid-iron approach and hope your distance carry yardage is accurate?
Hole 3 Par 4
421 yards (Black)
Front right fairway bunker shouldn’t scare anyone unless you want to lay up on the hole with a headwind. Center lined bunker will catch your tee shot if you are not committed to going for the left or right angle to the green. This can be a really tough hole if you miss the fairway to keep it in the short grass.
Hole 4 Par 3
193 yards (Black)
A long iron/hybrid test for your first par 3. Green flows slightly from back to front left with a good opportunity to let it feed to the hole on the left side pin placements.
Hole 5 Par 4
465 yards (Black)
Originally this was a longer par 5 but due to factoring in the downhill yardage it was best determined to go for a more challenging par 4. Stay in the fairway if you want to have a realistic chance for birdie on this hole. Pin 3 placement can be a difficult one due to the contour of the green so it is suggested to drive as far as you can down the right side of the fairway. All other pins you should be able to use the green slope contours to get close to the hole.
Hole 6 Par 5
523 yards (Black)
Don’t let this medium length sized hole fool you. You are going to want make sure you are in the fairway to have a shot at getting home in two due to the hole going uphill. Fairly generous sized green that does have some slope to it to challenge your approach shot.
Hole 7 Par 3
197 yards (Black)
Similar distance to your first par 3 however for please don’t use the same club! Safe to say you are going to club down a couple of clubs on this picturesque par 3. Any approach shot hit to the middle left of the green should release to the pin placements on the right side of the green. If you happen to go into the pond there is a drop area for you unless you want to pull a Tin Cup. Go ahead!
Hole 8 Par 4
427 yards (Black)
Be sure to commit to your tee shot if you want to stay in the fairway. A natural left to right slope will feed balls to the right edge of the rough. If you are thinking of hitting a fade to work the ball left to right watch out for the tree on the left. A small draw into the slop might be the wisest choice to avoid the deep fairway bunker. The green slopes from left to right as well but should hold your shots due to its generous shape.
Hole 9 Par 4
363 yards (Black)
Grip it and rip it! This hole severely goes downhill. Not much bail out room on the right. On the left you would be facing an uphill chip/splash shot in the heavy rough. Laying up however would leave you with a small wedge into the green.
Hole 10 Par 5
560 yards (Black)
A wide open fairway will allow you to play it safe or create the draw you want to have a good angle into the green for your second shot. Hit it too far right and it slopes right to left when your next shot calls for a fade. Hit the perfect draw and you will have an excellent eagle opportunity if you don’t land in the fairway bunkers on the left side.
Hole 11 Par 3
134 yards (Black)
The shortest par 3 awaits you. Only a wedge or 9 iron for most shots but keep it straight or you will be wet right or could face a tougher chip shot if missed left. Green contours are fair but can be challenging if you do not calculate the right distance approach.
Hole 12 Par 4
433 (Black)
This could be a tough hole going up the hill for some. You need birdie? Then you better use driver and hit the fairway. Play it safe with a 3 wood will still challenge par though. The green slants at about a 45 degree angle and mostly runs from back to front.
Hole 13 Par 4
453 yards (Black)
Another challenging hole that lets you decide which side of the fairway you should try to land on. Pin placements on the top left side of the green will be tough to score if you take the left side of the fairway approach. Going to the right side will be met with water hugging the right side of the fairway along with the bunker to catch any deeper shots. Enjoy the views, hopefully you can see the helipad!
Hole 14 Par 4
310 yards (Black)
Feeling lucky? Make an eagle or get bit by a snake on this short par 4. Layup for a decent chance of birdie but taking a chance on driver may yield you the big eagle you had been hoping for all day long.
Hole 15 Par 5
565 yards (Black)
Your last chance to make a realistic eagle on this course. Hug the right side of the fairway to shave a few yards off to have a chance to get home in two. If you miss the green in two be sure to place a well shot approach/chip shot because the slope contours could test your play.
Hole 16 Par 4
432 yards (Black)
Might want to take a second to see how you want to play this hole. Feeling bold? Might can carry the far left side of the bunker under the right conditions from the back tees. Laying up might be the play but it will leave you with a middle iron to the green that is only protected by the water in front.
Hole 17 Par 3
152 yards (Black)
One of just a handful of holes that do not have a greenside bunker but you must be precise due to the size of the green and the water that protects the front pin placements.
Hole 18 Par 4
455 yards (Black)
An excellent tee shot will be required to ensure you do not go into the fairway bunkers on the left. The aggressive play is to hit a draw for a good angle approach to the green if the pin is on the right. Don’t hit it too far with a fast as the fairway starts to cut away back towards the right.
Hope you get a chance to play a few rounds and let me know what you think where it be good or bad. All tees can be fun and challenging in tournament play regardless of settings in my opinion. My goal was to build on my last couple of courses to make them real life as possible as well as offer more of a strategic way to play without it being too difficult. Hopefully I accomplished my goal. Let me know!