I sent this to Dax a while back... I usually use this method
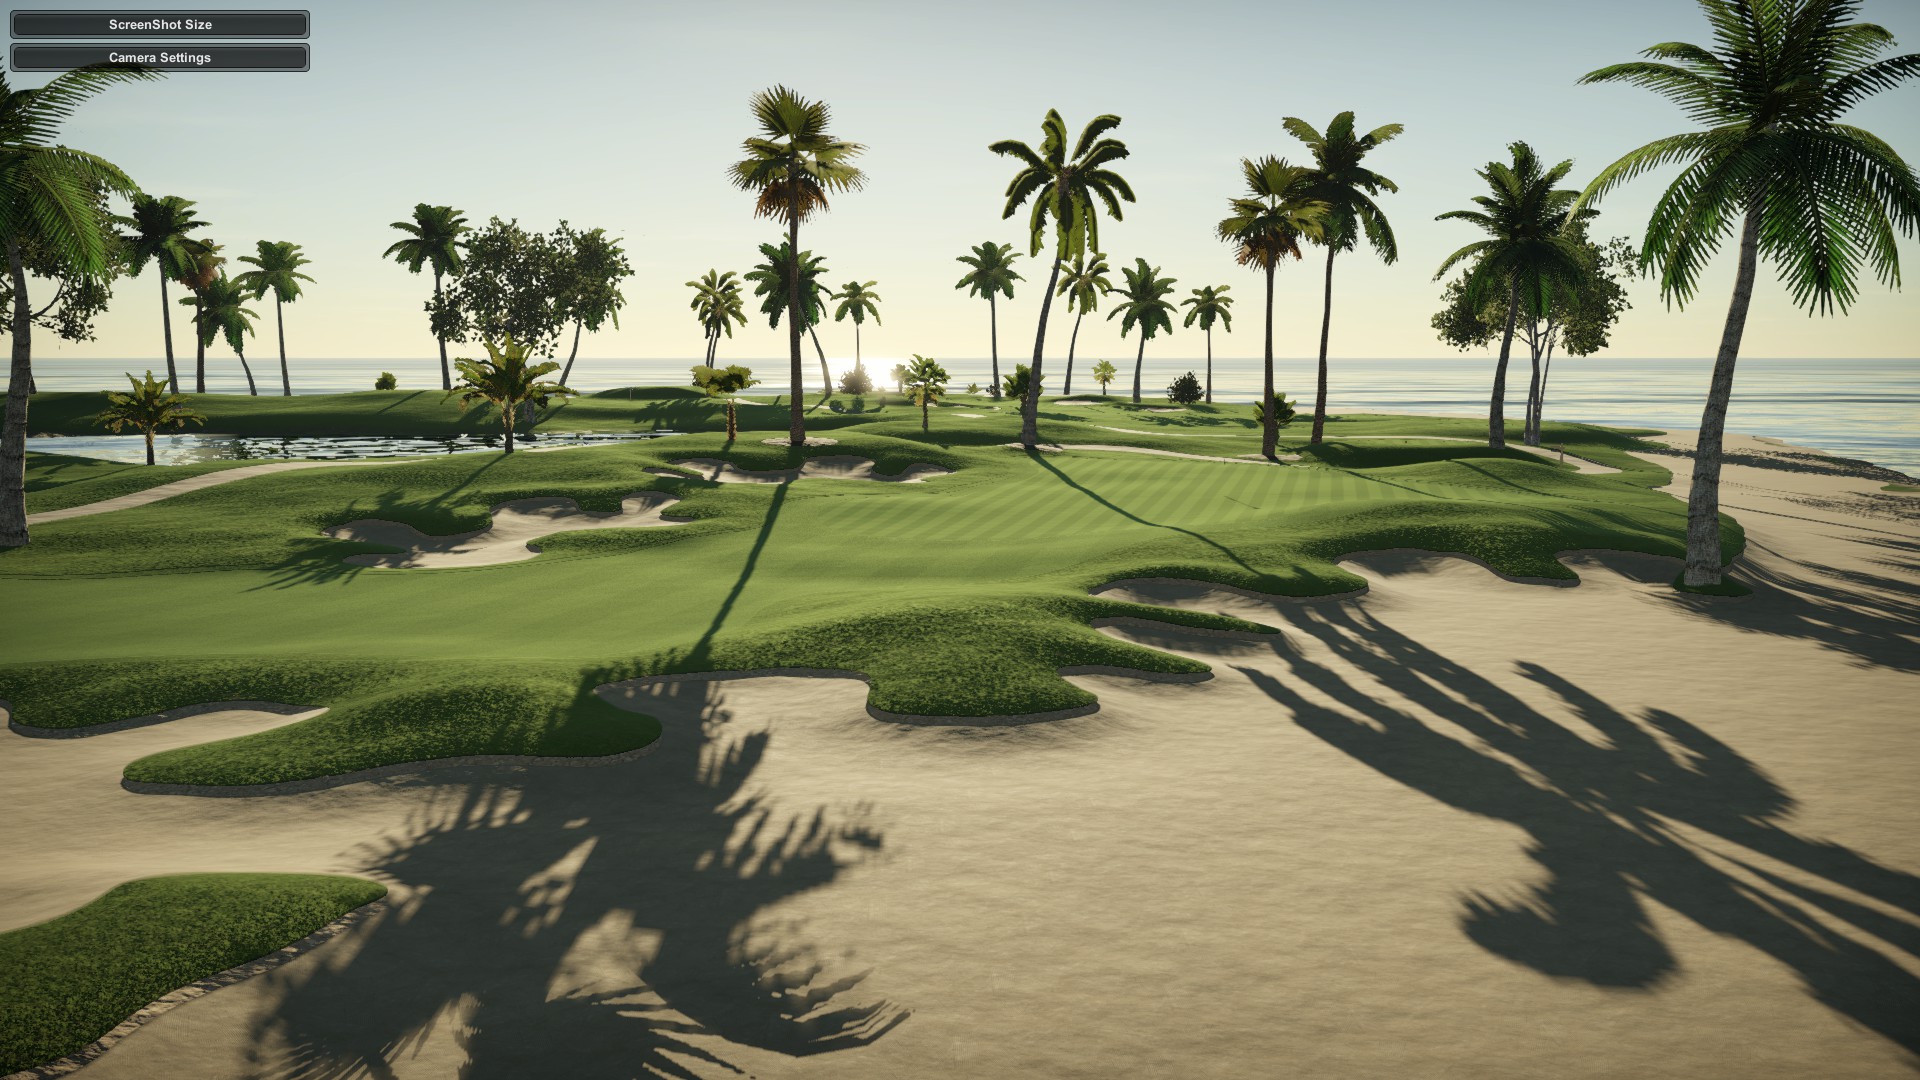
Take this pic as an example the bunker in the back there... First I would raise the back side of the bunker a few feet making sure I can see it from the fairway or approach
always use one of two brushes to do that, the softest brush on page 4 top of page first one or the 2nd row second brush on page three (always using landscape raise for this action)
Once I get the back side raised up I then will go in and sink the bunker... I always use the softest brush to sink the bunkers so again
I use landscape flatten, page four 1st brush and make the brush small enough not to go outside the lines of the bunkers and sink it anywhere from 3 inches to 10 inches (either way is good)
Once I get the bunker raised to see from fairway then I sink the bunker...Then the next step to me is most important
I use landscape flatten, I choose the 3rd brush top row on page one.... I make it as small as I it will go, then I will raise flatten around 10 inches to sometimes 1 foot
I will trace around the entire lip of the bunker (without going into the actual bunker) this gives the bunkers a very nice rolled lip... Always looks better when the sculpting has the sun behind it and its in shadows ALWAYS lol
Finally once this step is complete I normally choose the softest brush again from page four and I will raise the "fingers and areas" behind where I flattened the bunker to give it some definition
and also zoom back out in fairway to see what it looks like.... It if it not visible enough Ill raise it a bit.... Never go too far with this step we don't want them "too steep"
That is it in a nutshell, The outlying fingers and such out on the beach area I just draw the fingers in with the bunker tool and the first brush page one and then do all the steps above
I always tinker with trying to find new ways, but this always in my opinion makes nice bunkers without a jagged edge....
Hope this helps..I know there are numerous methods, but this tends to suit some decent bunkers